一级 黄 色 片免费,国产亚州视频在线网址,aⅴ色国产 欧美,日日久网站
<th id="v4rln"></th>
学生
教职工
考生
校友
访客
首页
智慧校园
导航
首页
学校概况
学校简介
现任领导
历史沿革
校区分布
校园风光
机构设置
党政部门及工团组织
教学及教辅机构
研究机构
后勤(医疗)服务机构
其他机构
教育教学
研究生教育
本科生教育
继续教育
招生就业
研究生招生
本科生招生
继续教育招生
毕业生就业服务网
科学研究
科研动态
社会服务
学术期刊
合作交流
留学安财
海外学习
教师交流
港澳台事务
校园文化
安财文化网
工会
团委
档案信息网
视觉形象识别系统
公共服务
智慧校园
安财校历
站点地图
电子资源
网络服务
网络服务
建站服务
一卡通
域名服务
电子邮件
安全卫士
vpn专网
认证计费
校园云盘
微软正版化
教育技术服务
综合服务
数字后勤
电话黄页
VPN(虚拟专用网络)
书记校长信箱
书记校长信箱致辞
书记信箱
校长信箱
安财要闻
更多>>
1
校党委书记虞宝桃为本科新生讲授...
习近平对宣传思想文化工作作出重要指示
2023-10-09
【榜样的力量·教师篇】朱道才:把学问...
2023-10-10
我校教师张苏、柏宁受邀执裁第19届亚运...
2023-10-09
【“大千讲堂”系列讲座之五十】刘莉亚...
2023-09-29
学校党委召开理论学习中心组2023年第十...
2023-09-29
情浓迎中秋 慰问暖人心 ——校领导看望慰...
2023-09-29
通知公告
更多>>
2023-04-23
第7周工作安排表(10月9日-10月15日)
2022-12-30
安徽财经大学2023年度高层次人才公开招聘公...
2022-12-30
安徽财经大学合肥高等研究院2023年高层次人...
2023-09-22
2024年全国硕士研究生招生考试安徽财经大学...
2023-09-14
关于进行防空警报试鸣的通知
2023-07-14
校园应急服务中心值班表(2023年7月18日-11...
校园动态
媒体关注
更多>>
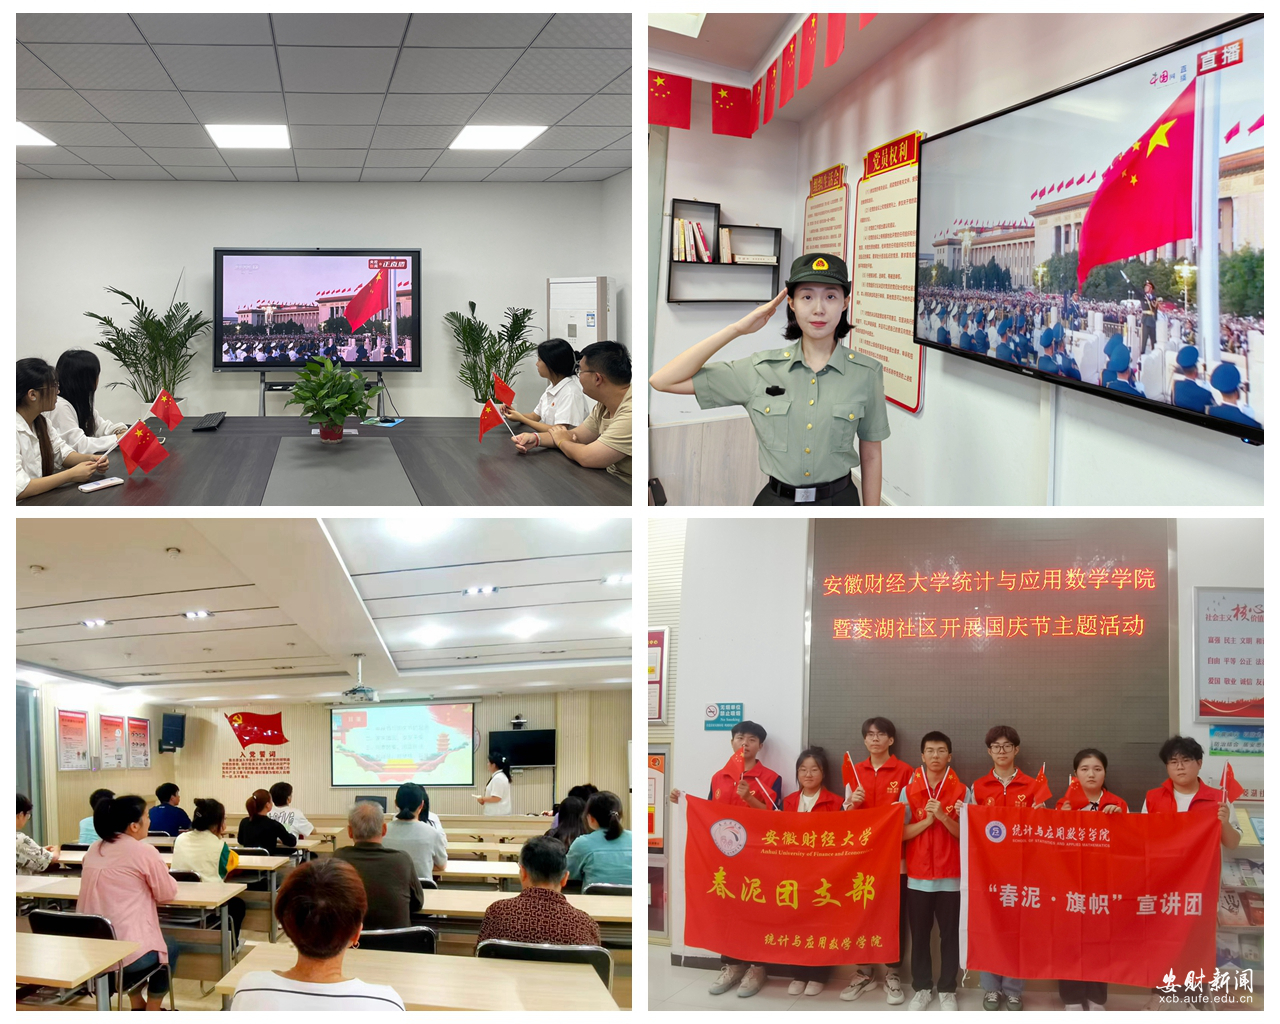
统数学院开展“‘月满中秋 礼颂盛世’中秋·国庆”主题实践活...
升旗观礼、专题微宣讲、向祖国表白、社区服务……在中秋节和第74个国庆节到来之际,统计与应用数学学院围绕...
“共守清廉之家”征文活动助力清廉校园建设
2023-10-10
勠力同心践使命 奋楫笃行启新程——会计学院举办2023级新生入党启蒙教育歌咏比赛
2023-10-09
财政与公共管理学院、国际经济贸易学院开展中秋国庆系列主题活动
2023-10-09
月浓中秋暖人心 情浓国庆共奋进——经济学院开展“喜迎中秋 欢度国庆”主题教育活动
2023-10-08
统数学院开展“‘月满中秋 礼颂盛世’中秋·国庆”主题实践活动
2023-10-03
更多>>
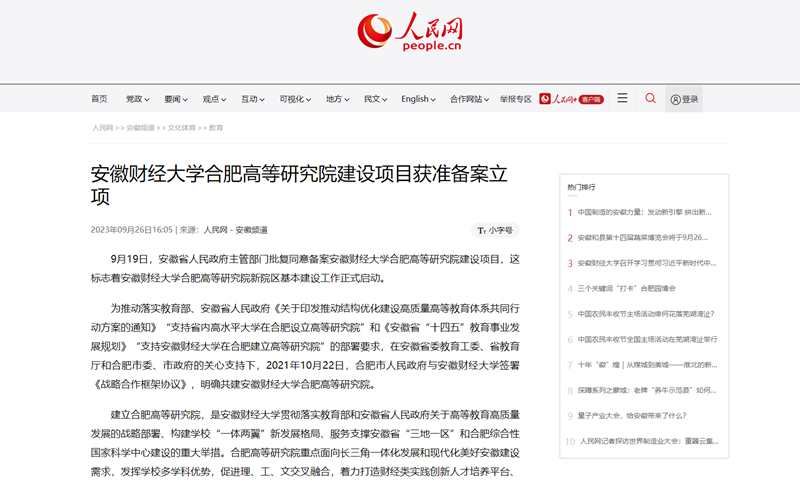
人民网、凤凰网报道我校合肥高等研究院建设项目获准备案立项
9月26日,人民网、凤凰网以《安徽财经大学合肥高等研究院建设项目获准备案立项》为题,报道9月19日安徽省人民政府主管部门批复同意备案安徽财经大学合肥高等研究院...
人民网、凤凰网报道我校合肥高等研究院建设项目获准备案立项
2023-10-10
人民网、安徽教育网、凤凰网报道我校2023年度国家级科研项目立项实现新突破
2023-10-10
人民网、凤凰网报道我校2018届会计学专业孙梦晗顺利完成造血干细胞捐赠
2023-09-23
人民网、凤凰网报道我校在“全国大学生网络文化节”和“全国高校网络教育优秀作品推选展示...
2023-09-23
人民网、安徽教育网、凤凰网报道我校5名学子获评安徽省“‘百优’大学生”荣誉称号
2023-09-23
学术看板
更多>>
1
2023年10月10日:【“大千讲堂”系列讲座之五十一】中...
2
2023年10月11日:【科学研究方法系列培训(2023)第十...
3
2023年10月12日:部分信息下失业保险的最佳决策时间
4
2023年10月12日:【科学研究方法系列培训(2023)第十...
5
2023年10月17日:国际前沿会计研究分享: 新领域及中国...
6
2023年9月27日:【“大千讲堂”系列讲座之五十】财政...
7
2023年9月20日:【“大千讲堂”系列讲座之四十九】不...
2023年10月10日:【“大千讲堂”系列讲座之五十一】中国金融...
2023-10-07
2023年10月11日:【科学研究方法系列培训(2023)第十一讲】...
2023-10-07
2023年10月12日:部分信息下失业保险的最佳决策时间
2023-10-07
2023年10月12日:【科学研究方法系列培训(2023)第十二讲】...
2023-10-07
2023年10月17日:国际前沿会计研究分享: 新领域及中国研究
2023-10-06
2023年9月27日:【“大千讲堂”系列讲座之五十】财政政策与...
2023-09-25
2023年9月20日:【“大千讲堂”系列讲座之四十九】不可忽略...
2023-09-18
2023年9月6日:基于半参数模型平均的参数迁移学习
2023-09-05
专题网站
学习贯彻习近平新时代中国特色社会主义思想主题教育
学习贯彻党的二十大 ...
党史学习教育
外媒安财
师德师风建设专题网站
普法专题网站 ...
电子邮箱
信息公开
合肥高等研究院
校友总会
教育基金会
智慧校园
<th id="v4rln"></th>
一级 黄 色 片免费,国产亚州视频在线网址,aⅴ色国产 欧美,日日久网站
品牌简介
{转码主词}